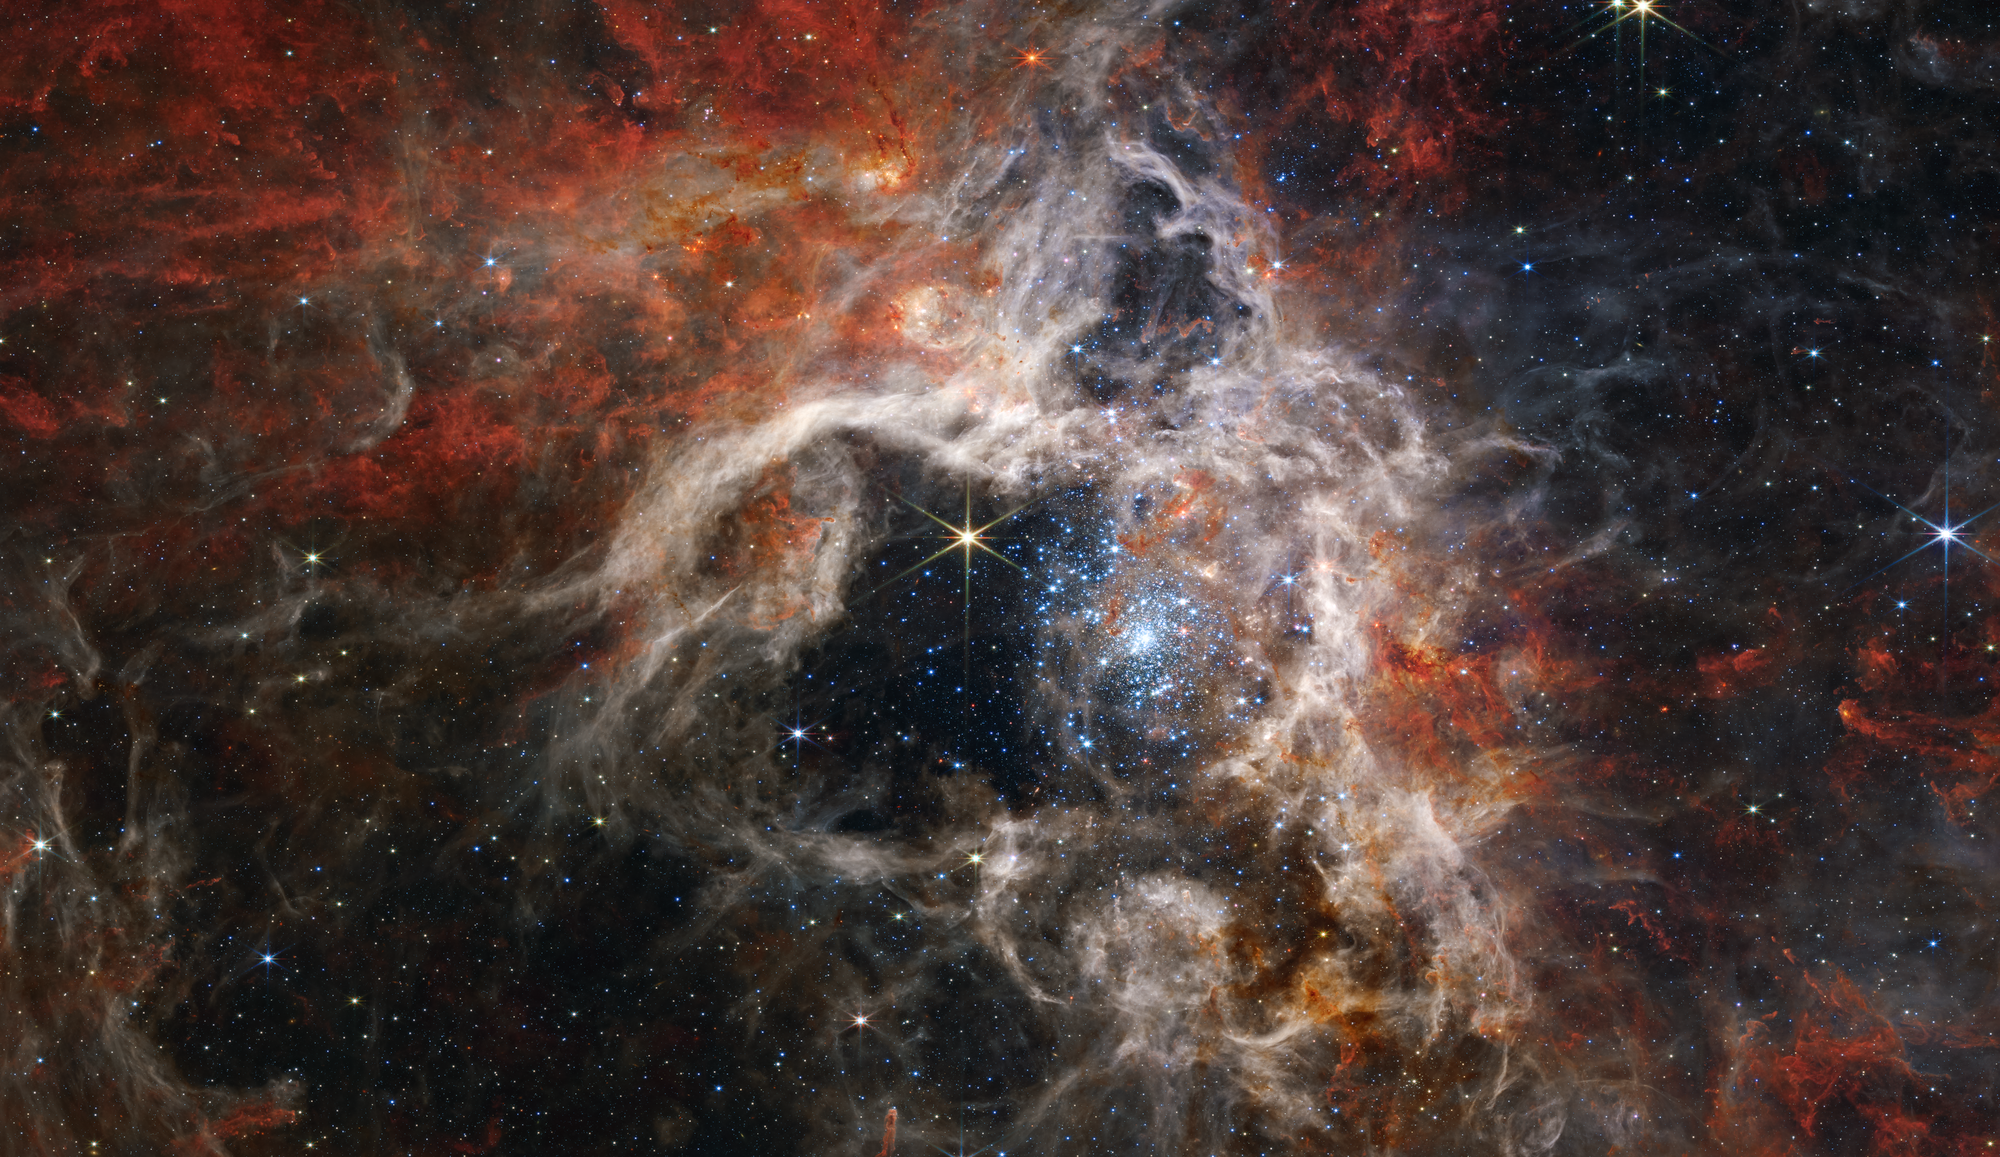
If your smart telescope's native field of view is roughly 1° across, and the Andromeda Galaxy spans about 3°, the math is pretty simple: no single frame is going to hold the whole thing. Mosaic mode is how every current smart telescope solves that — the scope shoots multiple overlapping panels around the same target and stitches them into one wider image. What it's actually doing differs a lot by brand, and the settings that matter aren't the same ones the app puts in front of you.
What mosaic mode is, and what it isn't
Mosaic mode is not a resolution boost, a zoom, or a "higher quality" mode. It's a way to expand the area of sky you capture, at the cost of proportionally more integration time. The optics, the sensor, and the per-pixel resolving power are all identical to a single-frame shot. What you gain is coverage.
Where that matters:
- Targets bigger than your native FOV. M31, M42 plus the running man, the North America Nebula, the Veil Nebula, the Heart and Soul Nebulae, and most large emission complexes.
- Framing headroom. Even if a target fits, sometimes you want context — the dust lanes around M31, the extension of nebulosity below M42, the Pleiades' reflection nebulae fading into surrounding molecular cloud. A 2×1 or 2×2 mosaic gives you room to crop.
- Higher final pixel counts for print. A 2×2 mosaic at the Vespera II's native resolution is roughly a 50-megapixel image. That's a real difference if you're printing at 24 inches wide.
Where it doesn't help:
- Small targets. The Ring Nebula (M57) is 1.4 arcminutes across on a field two orders of magnitude wider. Mosaicking it just gets you a lot of empty sky around a small ring. Same for most planetary nebulae, globular clusters, and small galaxies.
- Signal-to-noise. Each panel gets its own integration time. A 2×2 mosaic with 30 minutes per panel is 2 hours total but each pixel of the final image only saw 30 minutes of light. If you want deeper signal, integrate longer on a single frame — or on each panel of the mosaic.
How each brand does it
The mechanics of mosaic mode are surprisingly different across the three current app ecosystems, and the differences show up in which targets each scope handles gracefully.
ZWO Seestar: Mosaic mode (a.k.a. Framing mode)
On the S30, S30 Pro, and S50, ZWO ships this as Mosaic mode in the app. You pick a target, then drag the framing rectangle in the app to define how much sky you want to cover — the app shows you the panel grid it plans to shoot. From there it's automatic: the scope centers on the first panel, integrates, slews to the next, re-plate-solves, integrates, and repeats. The Seestar spirals outward from a center panel with generous overlap between neighbors, which is forgiving on stitching but not the fastest possible pattern. Total integration for a 2×2 on M31 typically lands around 90 minutes to 2 hours to reach a usable stack per panel.
The stitching happens in-app during the session — you see the growing mosaic in the live preview. That's genuinely useful when you're deciding whether to keep going or bail on a session that's fighting cloud. You can also reprocess the raw frames later; see our Siril starter guide for that workflow.
DwarfLab Dwarf 3: 2×2 (or larger) stitch
The Dwarf 3 handles mosaics differently. In-app, you enable Astronomical Mosaic and pick a grid — the standard preset is 2×2, which quadruples the native field of view; larger grids (up to 4×4 in practice) are supported for the widest targets. DwarfLab explicitly recommends 20–30% overlap between panels, which is a setting exposed in the app, not baked in. Under 20% and star patterns at the seams don't reliably match; over 30% wastes exposure time.
Unlike the Seestar, the Dwarf 3 does not live-stitch during the session. Each panel is stacked independently, and the final mosaic assembly happens in Stellar Studio (DwarfLab's post-processing app) or in a third-party tool like Siril or PixInsight. That's an extra step, but it also means you can reshoot a single weak panel later and re-stitch, which the Seestar's session-based flow makes harder.
Vaonis Vespera: CovalENS
Vaonis calls its mosaic mode CovalENS — a live mosaic technology exclusive to the Vespera line and the original Stellina. In the Singularity app, you switch to CovalENS mode, define a rectangular frame anywhere on the sky (much larger than the native FOV), and the scope executes a planned grid of overlapping micro-dithered panels, live-stitching everything into one continuous image up to roughly 4.8° × 2.7° at 24 megapixels on the Vespera II, and larger still on the Vespera 3 and Vespera Pro. It's the most seamless implementation of the three because there's no separate "you have 4 files, go stitch them" step — the app hands you a single mosaic image at the end.
The tradeoff is that CovalENS is a Vaonis-only feature and it doesn't expose panel overlap or grid dimensions as knobs — you set the target area, the scope does the rest. Great for hands-off imaging; less useful if you want tight control over per-panel exposure.
Settings that actually matter
Regardless of brand, these are the settings that change results:
| Setting | Recommended | Why |
|---|---|---|
| Panel overlap | 20–30% | Below 15% risks stitching gaps at the seams; above 30% is wasted exposure |
| Per-panel integration | Match single-frame goals (30+ minutes for nebulae, more for galaxies) | Undersampling any panel produces a visibly noisier stripe in the final mosaic |
| Filter | Same as single-frame for the target type | Dual-band for emission nebulae; UV/IR-cut or none for galaxies and clusters — see our filter guide |
| Grid size | Smallest that covers the target + framing headroom | Every extra panel multiplies session length; a 2×2 that fits is better than a 3×3 that wastes time on empty sky |
| Guiding / plate-solving | Let the app handle it (all three ecosystems do this automatically per panel) | Manual intervention between panels usually introduces framing errors that stitching can't hide |
The single biggest mistake mosaic-mode owners make is running a large grid with too little per-panel time, then wondering why the mosaic looks noisy at 100%. Every panel needs to be individually good before stitching helps. If you can't afford 2 hours for a 2×2 tonight, shoot a 1×1 tonight and mosaic when you can commit the time.
Which targets are actually worth it
Use mosaic mode for the sky's genuinely oversized targets. In practical order of "worth setting up":
- Andromeda Galaxy (M31) — the flagship case. Full disk is ~3°, plus the M32 and M110 satellite galaxies. 2×2 on any current smart telescope; 1×1 CovalENS frame on a Vespera.
- Orion Nebula (M42) with the Running Man — M42 alone fits a Dwarf 3 or Seestar S50 frame, but a 2×1 vertical mosaic pulls in the Running Man and lets you show the whole complex in one image.
- North America + Pelican Nebulae (NGC 7000 / IC 5070) — the pair spans nearly 4° combined. Requires a 2×2 minimum.
- Veil Nebula (Cygnus Loop) — the eastern and western arcs are 3° apart. A 2×1 or 3×1 horizontal mosaic covers the full loop.
- Heart and Soul Nebulae (IC 1805 / IC 1848) — a classic mosaic target across ~3.5° of Cassiopeia. 2×2 minimum on most scopes.
- Rho Ophiuchi complex — huge dust and reflection nebulae complex, easily 4°+. A 2×2 CovalENS or Dwarf 3 mosaic gets the colorful heart of it.
Skip mosaic mode for globular clusters, planetary nebulae, and most galaxies smaller than about 30 arcminutes — the Whirlpool, Ring Nebula, and most Messier objects are fine as single frames. Deep integration on a single panel almost always beats a shallow mosaic for those.
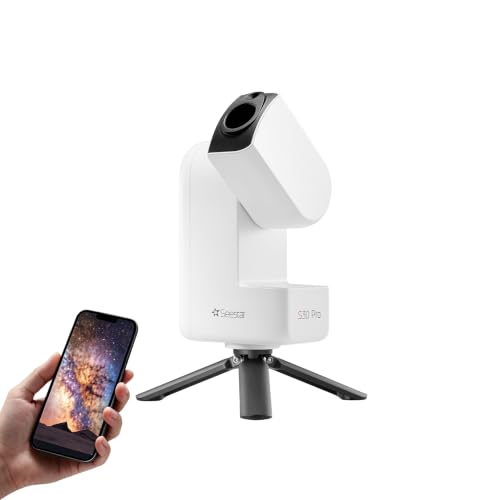 ZWO Seestar S30 Pro30 mm f/5, spiral Mosaic mode, EQ mode, live in-app stitching
 DwarfLab Dwarf 335 mm f/4.3, 2×2 to 4×4 mosaic grids, adjustable overlap in-app
 Vaonis Vespera 350 mm f/4, CovalENS live mosaic up to 4.8° × 2.7°, single-file output
Common failure modes
- Visible seams. Almost always underexposure on individual panels, or overlap below 15%. On the Dwarf 3, bump the overlap to 25% and shoot each panel to at least 30 minutes.
- Color casts between panels. Sky background shifted while the mosaic was running (moonrise, dawn, low target getting into worse air). Fix in post with gradient removal — our GraXpert walkthrough is the fast path.
- Star trails / eggs at seams. Poor plate-solve on the panel edge. Rare on current scopes, but if you see it, reshoot the affected panel; don't try to stretch through it.
- Session timed out. A 3×3 mosaic is 9× a single frame. Check your battery, storage, and imaging window against the total time before you start. All three ecosystems handle interruption reasonably well, but a mosaic that only got 6 of 9 panels done isn't a mosaic — it's 6 orphan frames.
The bottom line
Mosaic mode is the single feature that makes smart telescopes competitive with wide-field dedicated astro rigs for large targets. On the Seestar and Vespera it's mostly hands-off; on the Dwarf 3 you trade a little more setup for more control and larger grids. Pick your targets by size — a mosaic of something that already fits is just a long session for the same image. And whichever scope you own, budget real per-panel integration time before you commit to a grid. Undersampled mosaics look worse than a solid single frame every time.
For deeper background on the JWST-era mosaic techniques that inspired the smart-telescope implementations, NASA's Webb ERO team's Tarantula Nebula release is a useful reference — the same "spiral of overlapping panels, stitch in post" approach at a much larger scale. And Vaonis's own CovalENS explainer is the clearest brand-side breakdown of how live mosaic stitching actually happens in-scope.