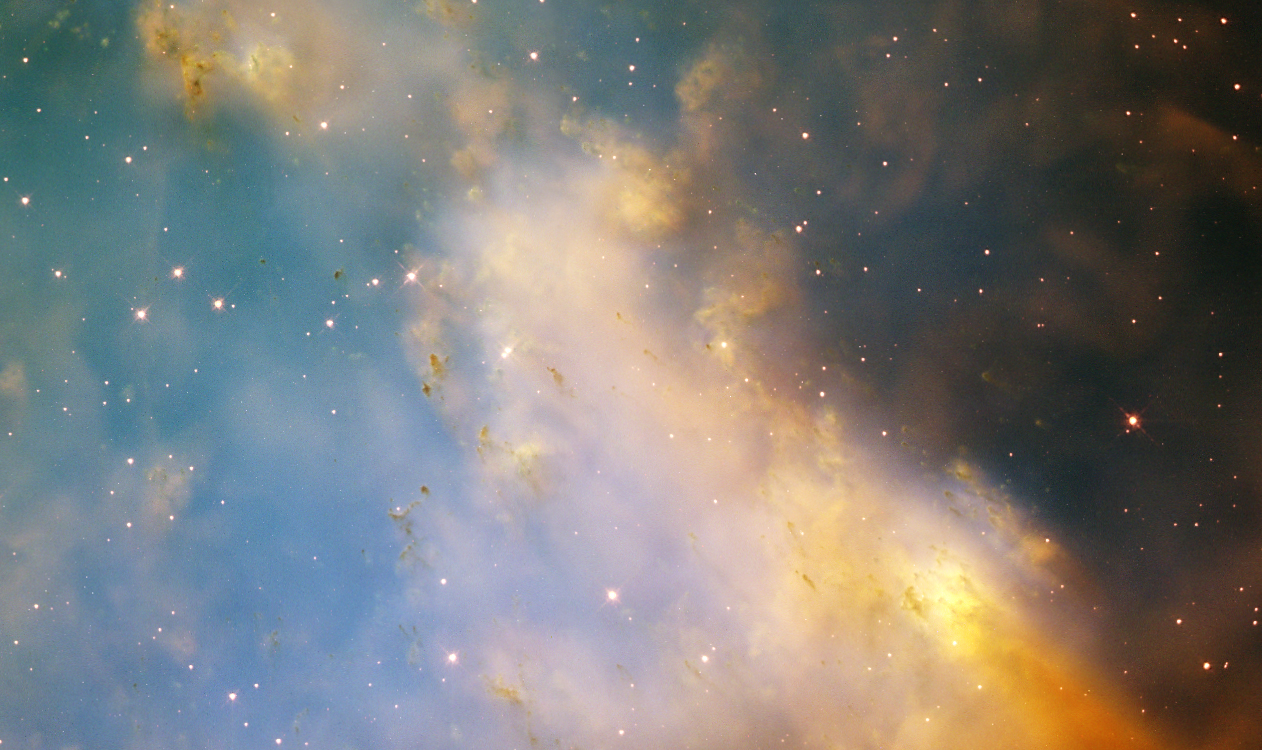
Every smart telescope app produces two artifacts: the JPEG it saves to your phone and the raw FITS file it saves to the scope's internal storage. Most owners only ever look at the JPEG. The FITS file — the real, unprocessed 16-bit-per-channel stack — contains several times the dynamic range of what you saw in the live view, and thirty minutes with a free tool called Siril will pull all of that back out. This is the step that separates "smart telescope owner" from "smart telescope owner whose photos are worth printing."
Turn raw file saving on first
The scope has to actually save the raw files, and it's off by default on most platforms. Fix it once and you're set for every future session.
| Scope | Setting | Location |
|---|---|---|
| Seestar S30 / S30 Pro / S50 | Save each frame in enhancing | Settings → Advanced |
| Dwarf 3 / Dwarf Mini | Save FITS stack + individual subs | Astro Mode → Options |
| Vaonis Vespera / II / 3 | Export pre-stacked 16-bit TIFF | Singularity app → Gallery → Export |
For the Seestar, if the toggle isn't obvious, update the app — ZWO has renamed and relocated it a couple of times, but the underlying feature has shipped since 2024. For the Dwarf 3, the app writes individual subs (usually 15-second frames) to the microSD; pull them off with the app's file browser or plug the microSD into your computer directly. The Vespera route is intentionally different — Vaonis prefers you export the pre-stacked TIFF from the Singularity app rather than the individual subs, which are harder to reach.
If none of this vocabulary is landing yet, our first-night guide walks through what a "stack" and a "sub" actually are.
Install Siril and the preprocessing script
Download Siril from siril.org — free, open source, cross-platform, and the de-facto standard for this kind of work. Install it, launch it, and open Preferences from the hamburger menu at the top right. Under the Scripts tab, tick the box next to Seestar_Preprocessing and hit Apply. That script now appears in the Scripts menu of the main window and does roughly 90% of the work you'd otherwise learn manually in a week.
Dwarf owners can use the same script for single-panel captures (the FITS format is standard enough that Siril doesn't care what wrote it), or install the community Dwarf and mosaic scripts from Naztronomy that also handle multi-panel stacks. Vespera TIFFs skip preprocessing entirely — they arrive already stacked and go straight to the processing section below.
Stack the raw subs
Create a folder for the target, and inside it a subfolder named exactly lights. Drop all your raw FITS subs from that session into lights. Do not mix anything else in — Siril will try to stack whatever it finds, including stray JPEGs.
In Siril, click the home icon in the top-left and navigate to the folder that contains lights (not lights itself). Then open the Scripts menu and click Seestar_Preprocessing. Go make coffee. Depending on how many subs you have, registration and stacking runs anywhere from three minutes (a short session) to twenty (a long one).
When it's done, look next to the lights folder for a file named something like M27_144x10sec_T14C_2026-07-30.fit. That's your stacked image.
Process the stack
Open the stacked FITS in Siril. It will look almost black — that's correct. Linear astro data is dim by design. Switch the viewing mode dropdown above the image to Autostretch; that changes only the on-screen preview so you can see what you're working with, without touching the underlying data.
From here, the workflow is four steps, in order:
1. Crop. Smart telescope stacks have soft edges where field rotation or dithering trimmed frames. Left-click and drag a selection over the clean interior, right-click, and choose Crop. Skip this if the edges already look fine — they often do on Dwarf 3 output because of its wider effective field.
2. Background extraction. Under Image Processing → Background Extraction, Siril auto-places sample points across your image. Nudge any that landed on the target or a bright star, hit Generate, then Apply. This removes the light-pollution gradient that turns one side of your frame orange and the other side blue. It's the single biggest visible improvement on a suburban stack — Siril's own gradient tutorial covers the theory if you want to understand what the sample points are doing.
3. Plate-solve and color-calibrate. Tools → Astrometry → Image Plate Solver. Seestar and Dwarf FITS files write their WCS coordinates into the header, so you can usually just press OK and Siril figures out where you were pointed. Then run Image Processing → Color Calibration → Spectrophotometric Color Calibration (SPCC). Fill in your sensor (IMX585 for the Seestar S30 Pro and S50, IMX678 for the Dwarf 3, IMX462 for the base S30) and filter type (UV/IR cut for broadband targets; leave the narrowband settings if you shot with a dual-band filter — see our filter guide if you're unsure which you used). SPCC compares star colors in your image to a photometric catalog and rebalances the RGB channels against real stellar spectra. This is what makes galaxies look their real color instead of app-preset teal.
4. Stretch. This is the step that transforms the image. Image Processing → Generalized Hyperbolic Stretch. Start with a low stretch factor (SP ≈ 0.3, D ≈ 2), then bring the shadow point up until the background is a dark grey rather than pure black. The preview updates live. Two or three gentle passes almost always look better than a single aggressive one.
Save as a 16-bit TIFF (File → Save As → .tif) if you plan to touch it up further in Photoshop, GIMP, or Affinity Photo. Save as PNG if you're done.
What actually changes
The honest before-and-after on a typical suburban stack — say, the Ring Nebula (M57) or M27 in the summer:
| Element | App JPEG | Siril output |
|---|---|---|
| Bit depth | 8-bit | 16-bit |
| Dynamic range | ~256 tonal steps | ~65,000 tonal steps |
| Background gradient | Baked in | Removed |
| Star color | Preset white balance | Photometric, per real spectra |
| Nebula detail in outer wings | Clipped to black | Recoverable |
The difference is not subtle. Save the app JPEG and the Siril output side by side; you'll see the same object, but the reprocessed version has a real background, real star colors, and detail in the outer nebula that the JPEG threw away as noise. This is why Seestar S30 Pro and Dwarf 3 owners with raw FITS output get so much more mileage out of each clear night than owners who never leave the app.
Two mistakes to skip
Stretching before background extraction. If you stretch first, the gradient stretches with it, and background extraction can't cleanly model it out afterward. Extract first, then stretch. Always this order.
Skipping SPCC. Auto white balance guesses at your image's midpoint; SPCC calibrates against actual star catalogs. The auto version can be badly wrong on nebula-dominant fields where there aren't many neutral references. Two minutes of SPCC now saves a magenta or teal cast you'll notice a week later.
That's the whole processing workflow that turns app previews into real astrophotos. Pair it with the right filter choice for the target and a scope-appropriate integration time, and you'll pull surprisingly good data out of surprisingly modest gear.
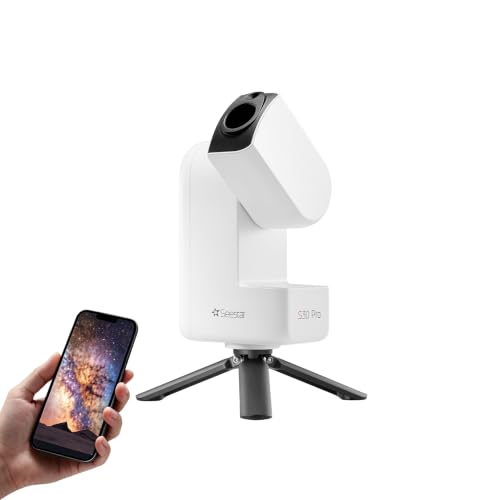 ZWO Seestar S30 Pro30 mm dual-camera, equatorial tracking, ASCOM/NINA path