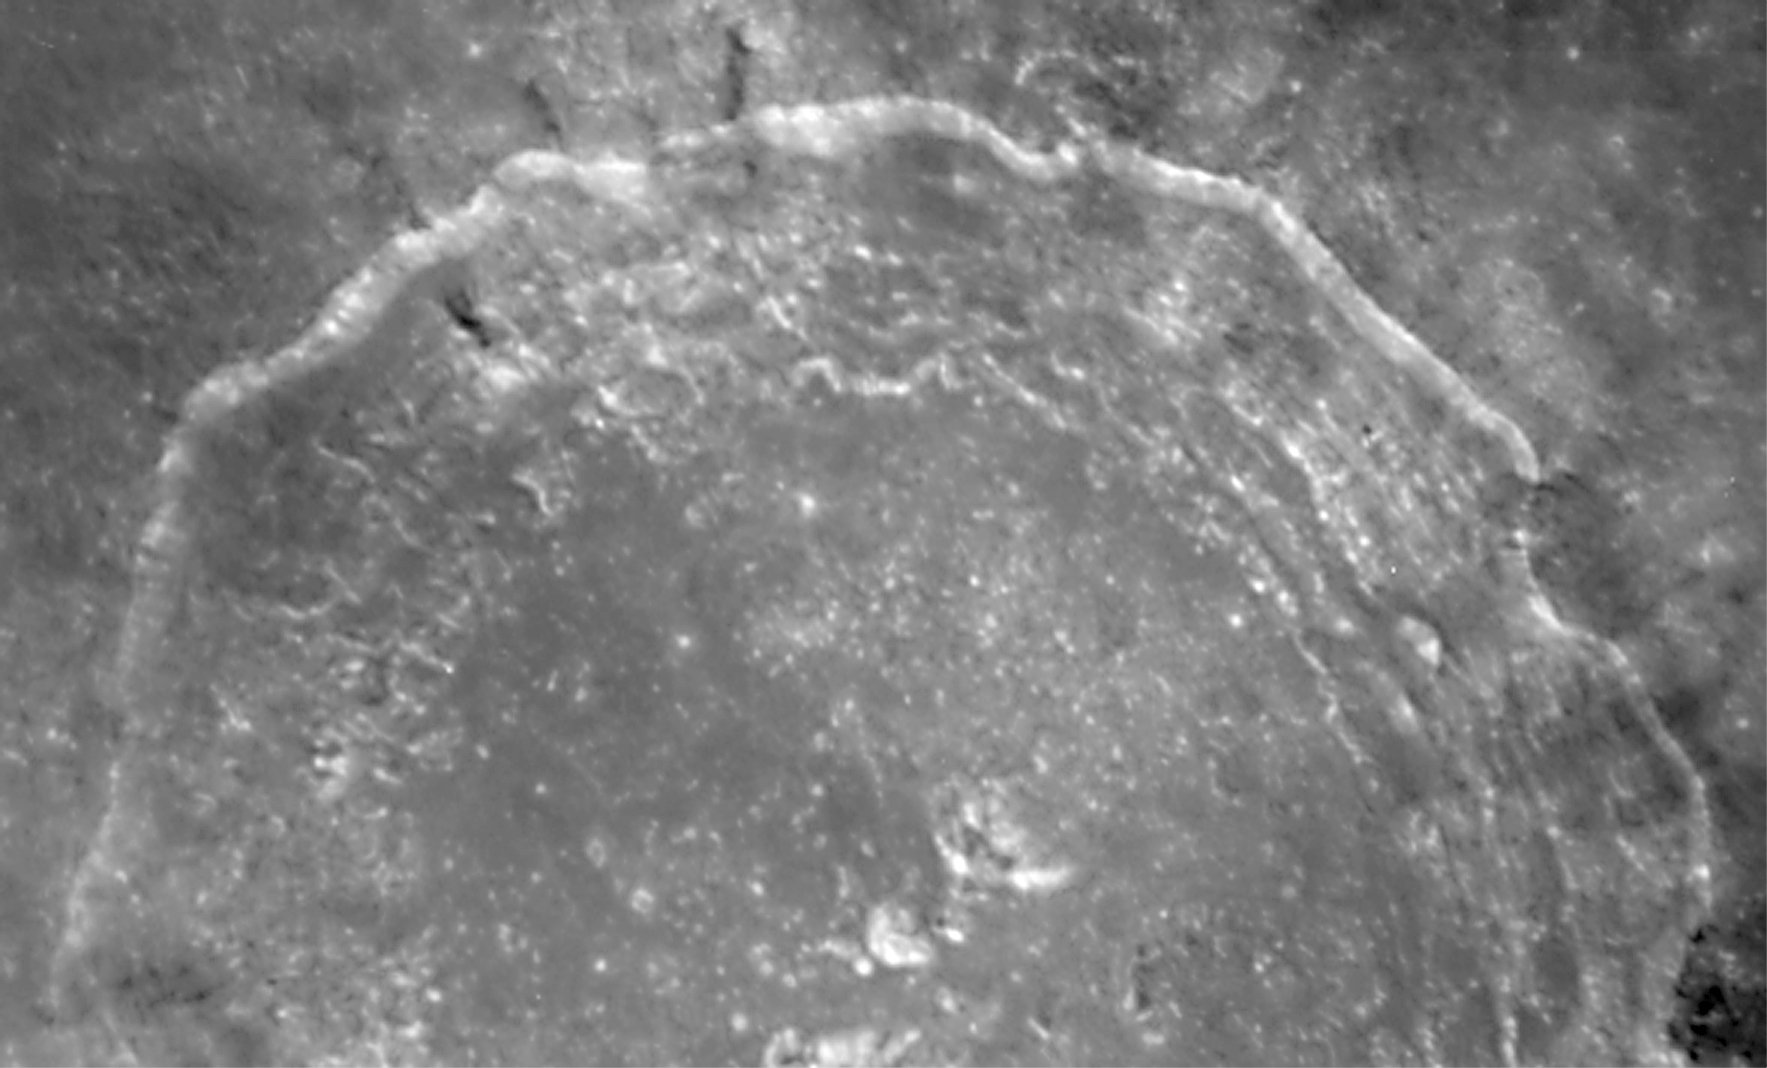
The first thing new smart-telescope owners try to shoot is usually the Moon, and the first thing that happens is a blindingly white blob with no craters visible anywhere. The scope is doing what you told it to do — the problem is that "shoot the Moon" and "shoot a nebula" are two completely different jobs, and by default the app is set up for the second one. Getting real lunar detail out of a Seestar, Dwarf, Vespera, or Unistellar takes about five settings changes and a different way of thinking about exposure.
Why the Moon breaks deep-sky settings
Every smart telescope ships tuned for the hardest job: pulling faint emission from nebulae, galaxies, and star clusters against a dark sky. That means multi-second exposures, gain cranked to a moderate ISO equivalent, and continuous live stacking. Point that same rig at the Moon and every one of those choices is wrong. A first-quarter Moon at the eyepiece is roughly magnitude −10 — a million times brighter than a nebula the same scope handles happily at 10-second subs. The sensor saturates in the first frame, the histogram slams against the right wall, and you get the featureless white disc.
The fix is to treat the Moon like planetary imaging instead of deep-sky imaging: very short exposures, minimum gain, high frame rate, and a completely different workflow after capture. Every current smart telescope has a mode built for this, but the naming and the default behavior differ by manufacturer.
The mode you actually want, by scope
| Scope | Mode name | How to reach it |
|---|---|---|
| ZWO Seestar S30 / S30 Pro / S50 | Lunar Mode | Main menu → target picker → select Moon (mode switches automatically, lunar tracking enabled) |
| DwarfLab Dwarf 3 / Dwarf Mini | Solar System mode | Top-right mode selector → Solar System → aim at the Moon manually (no goto for the Moon on this platform, per the DwarfLab docs) |
| Vaonis Vespera II / Vespera 3 | Moon Mode (Singularity app) | Catalog → Solar System → Moon; scope slews, autofocuses, and gives a live non-stacked view |
| Unistellar Odyssey / Odyssey Pro | Moon Mode (Enhanced Vision for Moon) | Catalog → Solar System → Moon (must use Go-to, not manual pointing — per Unistellar's Help Center, Moon Mode only activates via Go-to targeting) |
| Celestron Origin | Lunar target in the app | Solar System catalog → Moon; the app selects lunar exposure defaults automatically |
The common thread: don't fight the mode name, don't try to hand-configure the Moon in deep-sky mode. The dedicated mode does the right thing by default; your job is fine-tuning from there.
Starting settings that actually work
The values below are starting points, not final answers — atmospheric seeing and Moon phase will push them around. Adjust one variable at a time.
| Setting | Value | Why |
|---|---|---|
| Exposure | 1/500s to 1/60s | The Moon is bright reflected sunlight. Fractional-second exposures freeze atmospheric seeing and prevent saturation. |
| Gain / ISO | 0 (minimum) | You have more light than you need. Extra gain buys nothing but noise. |
| Filter | UV/IR-cut or clear only | Dual-band and light-pollution filters are for emission nebulae. Never on the Moon. |
| Stacking | Off in-app; video capture instead | The Moon is a lucky-imaging target, not a live-stack target. Shoot 30–60 seconds of video and stack the sharpest frames later. |
| Tracking | Lunar rate (not sidereal) | The Moon moves against the stars by about half a degree per hour. Lunar rate keeps it centered; sidereal rate lets it drift. Every smart telescope's Moon mode enables this automatically. |
| Format | RAW / FITS if offered | You'll do the real work in post. The JPEG the app shows is a preview. |
Two exceptions worth calling out. On the Seestar in EQ mode you can use longer exposures without star trailing (up to 60 seconds per ZWO's S30 Pro FAQ) — but for the Moon this doesn't help you. Bright targets don't benefit from long integration; they benefit from short frames that beat the atmosphere. And on the Dwarf 3 specifically, DwarfLab's own guidance is not to touch the shutter setting after autofocus finishes, because the platform sets it to an optimal value automatically.
The lunar phase choice nobody explains
If you can pick your night, don't pick the full Moon. This is counterintuitive — the Moon is fullest, brightest, most complete — but a full Moon lights the surface straight-on, which flattens every crater and mountain into a shadowless plate. The Moon looks interesting along the terminator, the day-night line, where low-angle sunlight throws long shadows behind every rim. That means the best lunar imaging is done between about five days after new Moon and about five days before, when the terminator crosses somewhere visually striking (like Copernicus, Tycho, or the Apennine Mountains).
The full Moon has its place — atlas-style whole-disc portraits, texture-lit maria — but if you want the classic craters-with-shadows look that gets people to say "wait, you took that?", you want the shadowed side.
Capture: video, not stills
Once the scope is on the Moon and dialed in, don't hit shutter. Hit record. Every current smart telescope will save a short video of the Moon to internal storage or the phone; on the Dwarf 3 and Seestar this is a first-class option in the Moon interface. A one-minute clip at whatever frame rate your scope offers gives you a few hundred frames of the same subject, most of which will be softened by atmospheric turbulence you cannot see with your eyes. A small fraction — the "lucky" frames — will be sharp. The trick is to keep those and throw the rest away.
Post-processing: lucky imaging in AutoStakkert
Pull the video off the scope (SD card, app export, or Wi-Fi transfer, depending on the platform) and open it in AutoStakkert! — free, Windows and Mac, the de-facto standard for lunar and planetary work. AutoStakkert analyzes every frame for sharpness, picks the top 10–25%, aligns them on features you choose, and stacks the survivors into a single low-noise image with more detail than any individual frame contained. The full workflow is: load video → analyze → pick reference frames → set alignment points on high-contrast crater rims → stack. Ten minutes end-to-end after the first attempt.
The stacked output then goes into a sharpening tool — RegiStax with its wavelet sliders is the traditional choice, but any modern image editor's unsharp-mask or deconvolution will work if you're careful. This is not the same workflow as Siril for deep-sky stacks, which averages over hours rather than picking moments of sharpness — the Moon needs the lucky-imaging approach because the enemy is seeing, not read noise.
What can go wrong
Every frame looks soft, even the "lucky" ones. Seeing is bad tonight. Nothing you do at the scope will fix this — a jet-stream night blurs every frame roughly equally. Come back another night; the difference between mediocre and excellent seeing is often just two or three nights apart on the same balcony.
The Moon drifts out of frame. Your scope defaulted back to sidereal tracking. Confirm Moon mode is actually active — most platforms show a small indicator, and if it's showing "Lunar" you're fine.
Craters look mushy on a high-magnification crop. You focused on the wrong feature or the app's autofocus locked before the Moon was fully in frame. Refocus manually on a sharp crater rim near the terminator (that's where contrast is highest, so autofocus works best too), then re-record.
You keep getting a bright blob no matter what. The scope quietly reverted to deep-sky mode when you switched targets. This is easy to do on the Seestar in particular — always look at the exposure display before you start recording. If it says "10s" you're in the wrong mode.
For the broader capture workflow (dark frames, drift, session hygiene) see our first-night guide. And if you're deciding which scope to buy for a mix of Moon and deep-sky work, the buying guide walks through the tradeoffs at each price tier — the short version is that every scope on this page handles the Moon well, so choose based on what you want to shoot the other 27 nights of the lunar month.
